AI in Colombian container terminals, more than a buzzword
After writing a series of articles on how to apply IA to recruiting, I decided it was time to take a break and change the topic of my articles (at least temporarily).
After writing a series of articles on how to apply IA to recruiting, I decided it was time to take a break and change the topic of my articles (at least temporarily). And the reasons are: First, I don’t want to bore my readers, and secondly, I want to show how IA can be easily applied in other fields of daily life. In this case, I will show how bringing artificial intelligence to car repair shops and carwashes can be extremely easy and generate a competitive advantage for these businesses.
The toolbox I propose in this article would allow:
– Car repair shops and insurance agents to automate their damage inspection process.
– Car washes can quickly generate an inspection of the cars they receive thus avoiding possible problems with car owners for surprise dents.
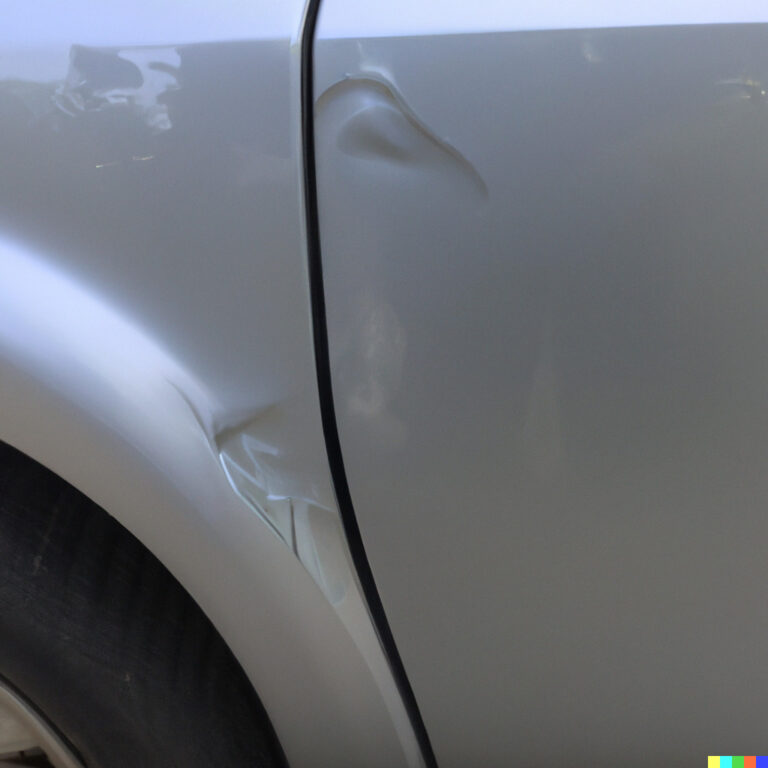
The following is the list of stacks, frameworks, and tools we are using to build the solution:
According to openAI, “CLIP (Contrastive Language-Image Pre-Training) is a neural network trained on a variety of (image, text) pairs. It can be instructed in natural language to predict the most relevant text snippet, given an image, without directly optimizing for the task, similarly to the zero-shot capabilities of GPT-2 and 3.”
In other words, CLIP can determine, given an image and a set of labels, which of that labels best describes the input image.
I encourage you to read the complete description of this amazing model here; I think it is good to know why CLIP is a game-changer in the visual classification field and what was the approach that OpenAI used to build it.
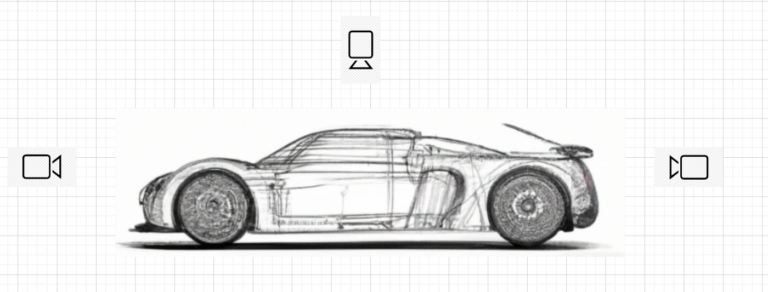
In my opinion, there are at least two ways to physically tackle the automation of the vehicle inspection process. The first one is to set up an inspection area inside the workshop, where the vehicle is parked, and a set of cameras take a picture of each side of the car. See the following sketch.
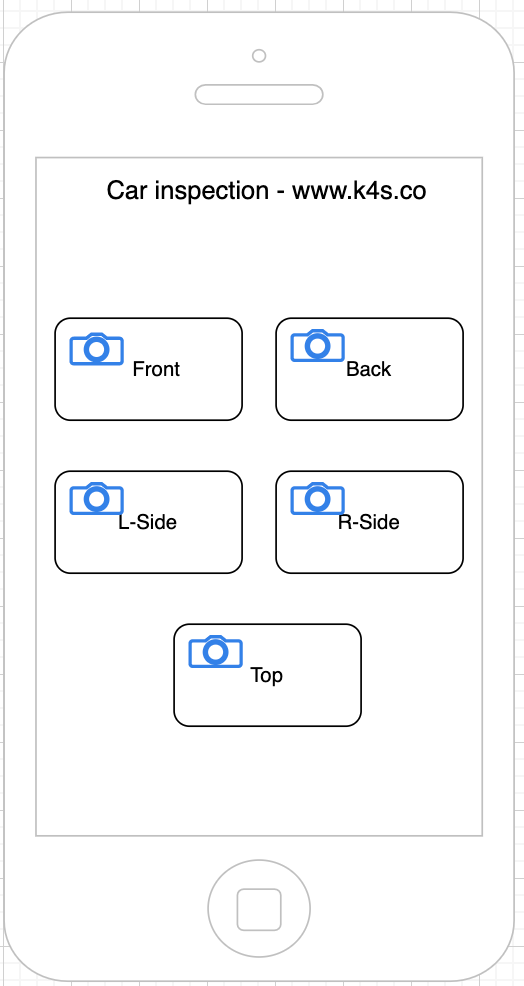
Another option is to create a mobile app that workshop or insurance clerks use to take pictures of each side of the vehicle. Below you can see the mockup of that mobile application. Please note that UI design is not my specialty :).
The following screen shows the result of the analysis of the photo of the front of the car.
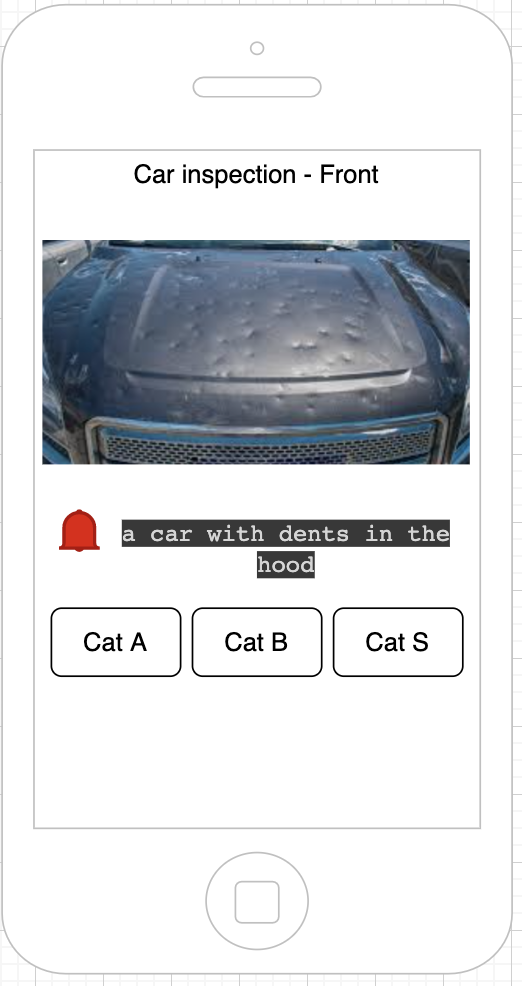
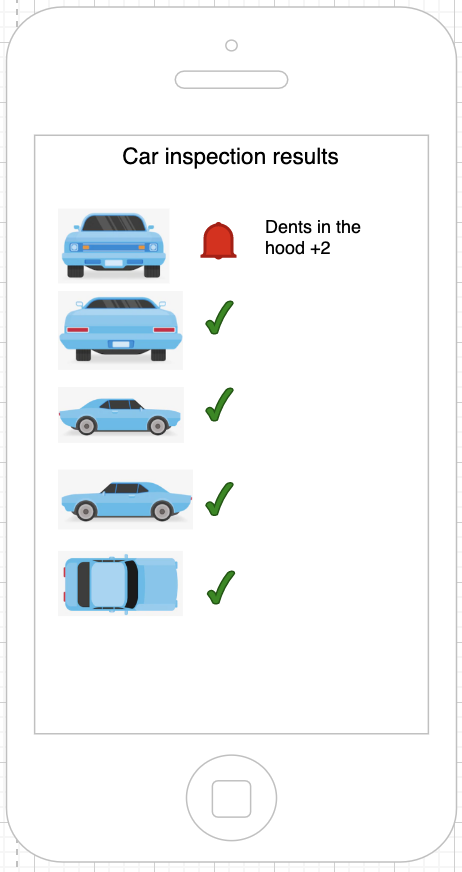
No matter where the vehicle inspection photos come from, the core side of the application will automatically generate the damage classification from the set of inspection photos.
The core or back-end code where the photo analysis is implemented should run in an asynchronous function that can be consumed through an API(FastAPI or Flask). However, on this occasion, I have created a solution that runs on Google Collab or a Jupyter notebook for simplicity.
Next, you can see the first part of the core code. Here I’m importing OpenAi CLIP, Numpy, and other libraries required to deal with images and web requests. I also define the function classify_image, which is the cornerstone of the solution. It receives an image and a list of labels and returns a Tensor with the probs of each label to match the photo’s description.
import torch
import clip
from PIL import Image
import requests
import numpy as np
import random
from matplotlib.pyplot import imshow
device = "cuda" if torch.cuda.is_available() else "cpu"
model, preprocess = clip.load("ViT-B/32", device=device)
def classify_image(url,labels):
image = preprocess(Image.open(requests.get(url,
stream=True).raw)).unsqueeze(0).to(device) text = clip.tokenize(labels).to(device) with torch.no_grad():
   image_features = model.encode_image(image)
   text_features = model.encode_text(text)
   logits_per_image, logits_per_text = model(image, text)
   probs = logits_per_image.softmax(dim=-1).cpu().numpy()
return probs
In the next part of the code, you will see how the model determines, given an image and a list of labels, which label best describes the input image.
For simplicity, I’m not including code to get images from a physical camera. You can see plenty of samples on the internet. Instead, I’ve included the link to some car damage photos on the net.
Also, you can see a list (the variable called labels) of some of the most common(at least for me) types of car damage.
And that is! You just have to call the classify_image function passing the image and labels.
bomper_damage="https://lirp.cdn-website.com/5db48381c8ae431eb5324cc0c2e7772a/dms3rep/multi/opt/1531822-blog103-1920w.jpg"

front_damage ="https://www.mycarcredit.co.uk/wp-
content/uploads/2019/11/car-crash-damage-categories.jpg"

bonnet_damage = "https://stage-drupal.car.co.uk/s3fs-public/styles/original_size/public/2020-
07/category_n_car_from_car_auction.jpg?MsF7pKMvNbsieoplk.sytmLB3sntAmX4&itok=iQO3TT5a"

bonnet_damage2= "https://www.aceofdents.com/wp-content/uploads/2017/11/192910615.jpg"

doors_dent = "https://cdn.thomasnet.com/insights-images/embedded-images/dc9bbdad-0f6f-4698-a4f5-4419d5a44f41/c77d74e3-4799-4539-9987-b2007e67cef7/Medium/best-dent-puller-mind.jpg"

images =
[bomper_damage,front_damage,bonnet_damage,bonnet_damage2,doors_dent]

url = random.choice(images)

image = Image.open(requests.get(url, stream=True).raw)

labels = ['a photo of the bumper of a car with a dent',
'a photo of the front side of a Car with damages',
'a photo of the lateral side of a car with dents in the doors',
'a photo of a car windshield damage',
'a photo of a car with dents in the hood']

probs = classify_image(url,labels)
print("Label probs:", probs )
idx = (-probs).argsort()[0][0]
print( "Label '%s'  - Prob %0.2f" % ( labels[idx],  probs[0][idx]) )

display(image)
This is the final result.
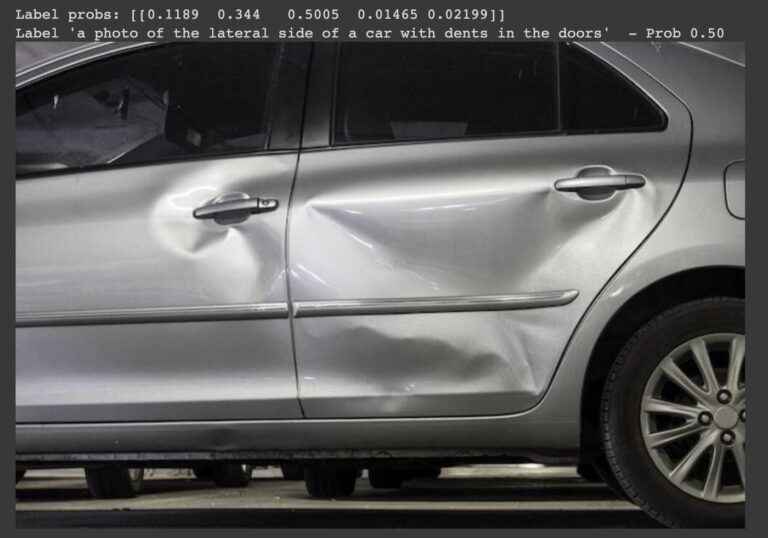
Voila! Now you have a taste of how easy it was to implement a damage inspection application powered by AI. This time I wanted a short, quick, and “straight to the point” article.
Before wrapping out, I’d like to provide a quick summary of how the application works:
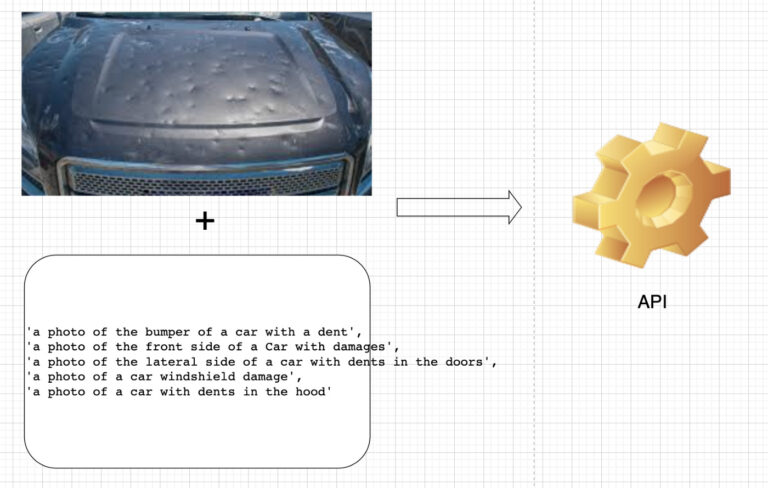
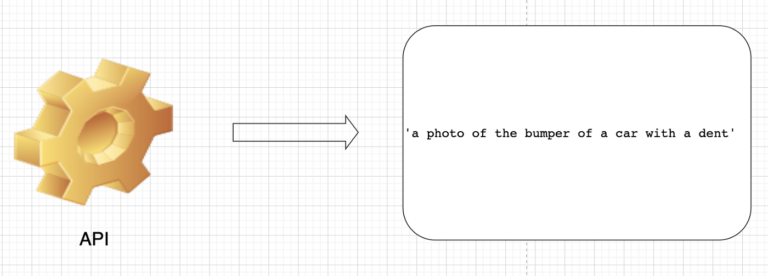
I’ve shared the code in the following Colab notebook.
We have reached the end of the post. I hope I have demonstrated how easy it can be to use AI in business and real-life situations.
I hope this article has been helpful. I have more ideas to apply CLIP to other areas like surveillance and marketing. Feel free to DM me if you want to know more details or want my help in developing a prototype. Please add your comments if you have any questions.
Thanks for reading!
Stay tuned for more content about GPT-3, NLP, System design, and AI in general. I’m the CTO of an Engineering services company called Klever, you can visit our page and follow us on LinkedIn too.

After writing a series of articles on how to apply IA to recruiting, I decided it was time to take a break and change the topic of my articles (at least temporarily).
After writing a series of articles on how to apply IA to recruiting, I decided it was time to take a break and change the topic of my articles (at least temporarily).